
If you use Exchange Online for email in M365, great! Depending on your licensing structure you will have anywhere from 50 to 100 GB in storage space. However, that might not be enough. This article will show you how to Set up auto archive fast.
Why Configure Auto Archive for Outlook
The are a few reasons why you would want to do this. I already mentioned above that you could be running out of online storage space and need to free some up. Another reason is that you have some older email you don’t really read very often but would like to have it is a reference that is easily searchable. More reason to Set up Auto Archive Fast.
Configuring AutoArchive
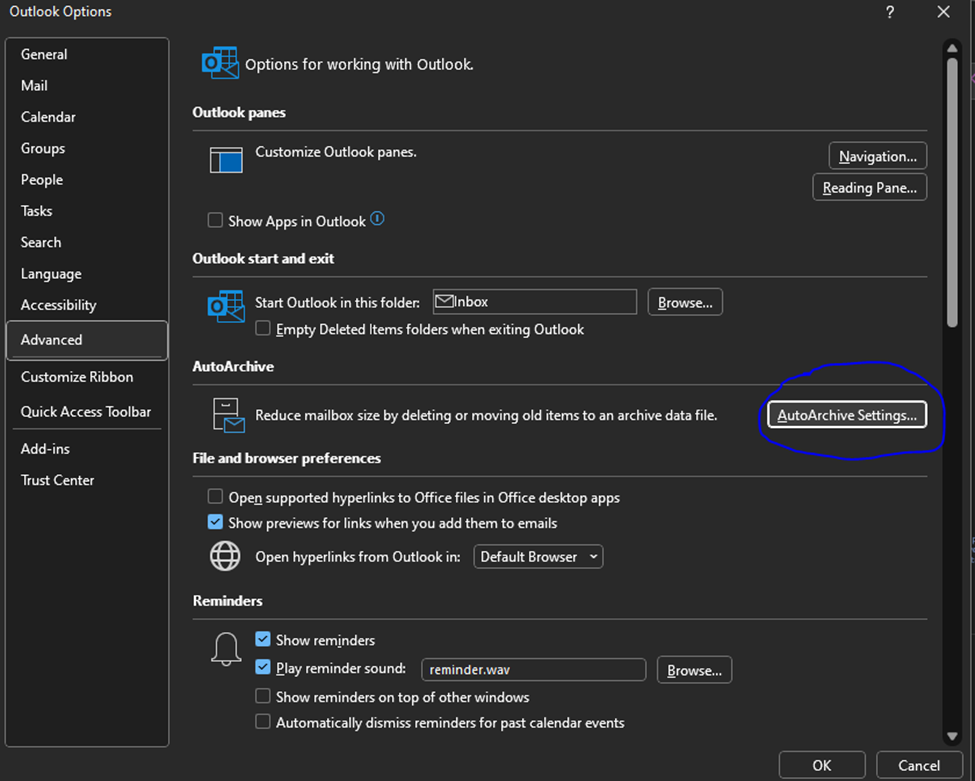
- Click File / Options / Advanced / Auto Archive Settings:
2. Once you have open AutoArchive Settings from options, you need to set them:
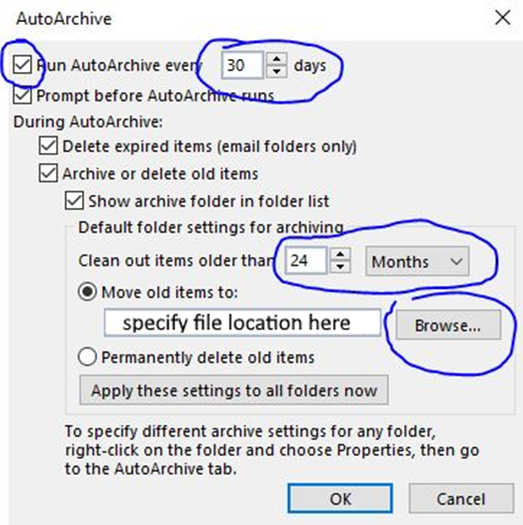
3. You will need to configure at least 4 settings. They are:
Enable Auto archive – You won’t be able to configure any other settings until you check this box.
Frequency – specify in Days how often you would like archive to run (in days).
Date to Start Auto Archive – When auto Archive runs it checks for items older than you specify and adds them to the archive. You can specify in Months / Weeks / Days, or you can choose to permanently delete old items. I wouldn’t recommend this unless you are an advanced user and know how to work with .ost files.
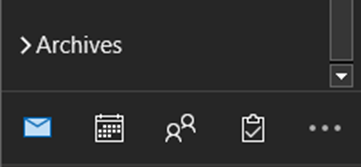
Once AutoArchive runs once you will see it in your Outlook underneath your inbox as a searchable mail store:
You can get pretty fancy with Auto Archive if you know what you are doing. But if you are not sure, reach out to your IT Department. If not, your IT department better have a good backup solution. Otherwise, this article shows you how to Set up Auto Archive Fast.
Dan
I am an IT professional with over twenty five years experience in the field. I have supported thousands of users over the years. The organizations I have worked for range in size from one person to hundreds of people. I have performed support from Help Desk, Network / Cloud Administration, Network Support, Application Support, Implementation and Security.